A creamy pureed asparagus potato soup topped with fresh chives and crispy bacon. This simple but satisfying soup recipe is ready in under an hour and makes a perfect fresh and cozy meal for cool spring evenings.

When spring finally arrives and fresh asparagus appears once again, I can't help but buy a bunch nearly every week. It's one vegetable that I don't have in my garden. At least not yet.
After the long Vermont winters, there's something irresistible about a fresh green vegetable. Even though we're slowly moving toward warmer weather, I still enjoy a lighter, more vegetable-focused soup rather than the rich dairy and meat based soups and stews I craved during the cold months.
This soup, with its vibrant green color, is both filling and fresh, and perfect for the brief transition time that spring brings.
😍 Why this recipe works
- Cooking the vegetables in bacon fat (and using the cooked bacon as a garnish) ensures the soup has plenty of deep flavor while still keeping the focus on the asparagus and potatoes.
- Potatoes do a surprisingly nice job of creating a creamy, thick texture in the soup without relying on cream or dairy. It's creamy, but not heavy.
- The finishing touches of lemon zest, lemon juice, and chopped chives enhance the soup's brightness and freshness, which is ideal for asparagus and spring.
You might think that potato-based soups all taste the same, but that couldn't be further from the truth. I have the recipes to prove it. In my Seafood Newburg Soup, potatoes are combined with shrimp and cod to create a hearty chowder. In my Potato Mushroom Soup, the potatoes remain intact, adding a satisfying heartiness to the dish. Meanwhile, my Celery Leek Soup uses potatoes to add creaminess (as they do here) while letting the leeks and celery shine.
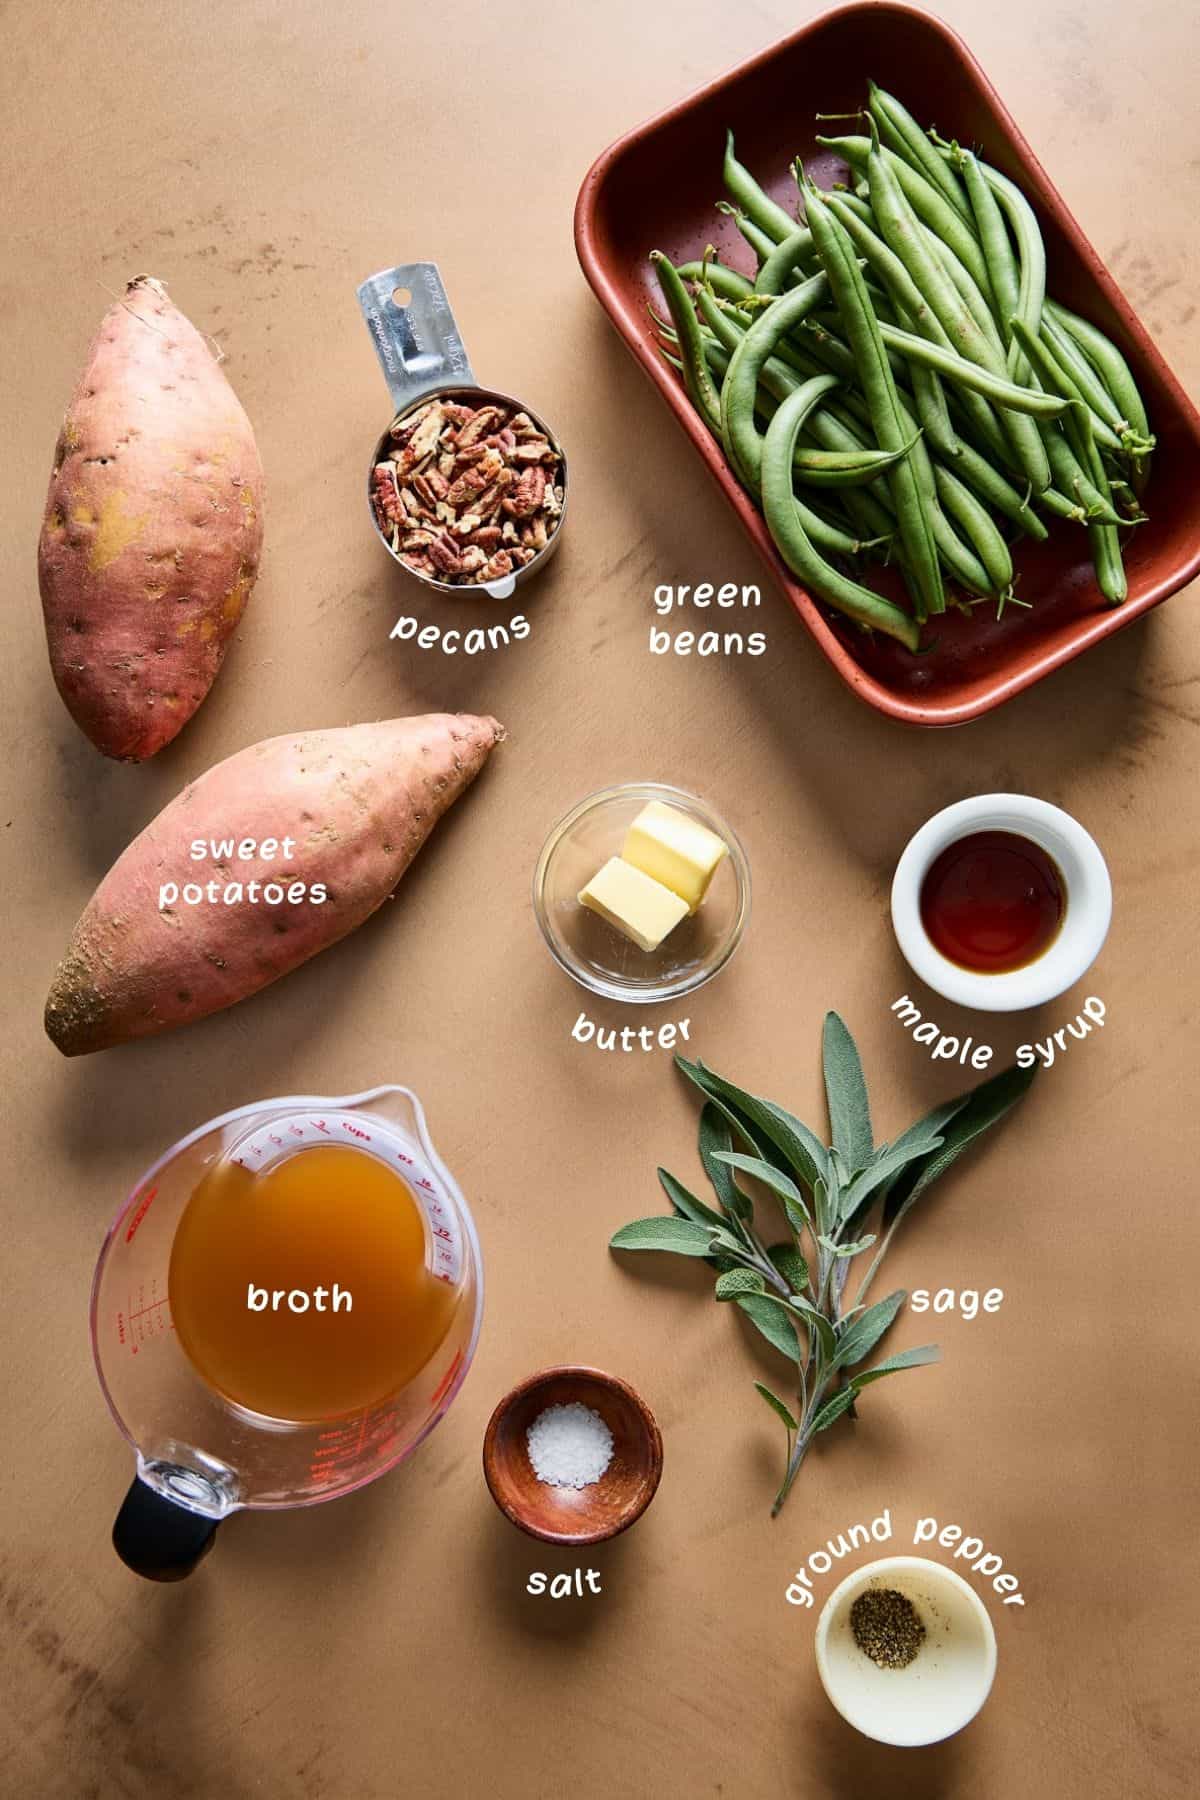
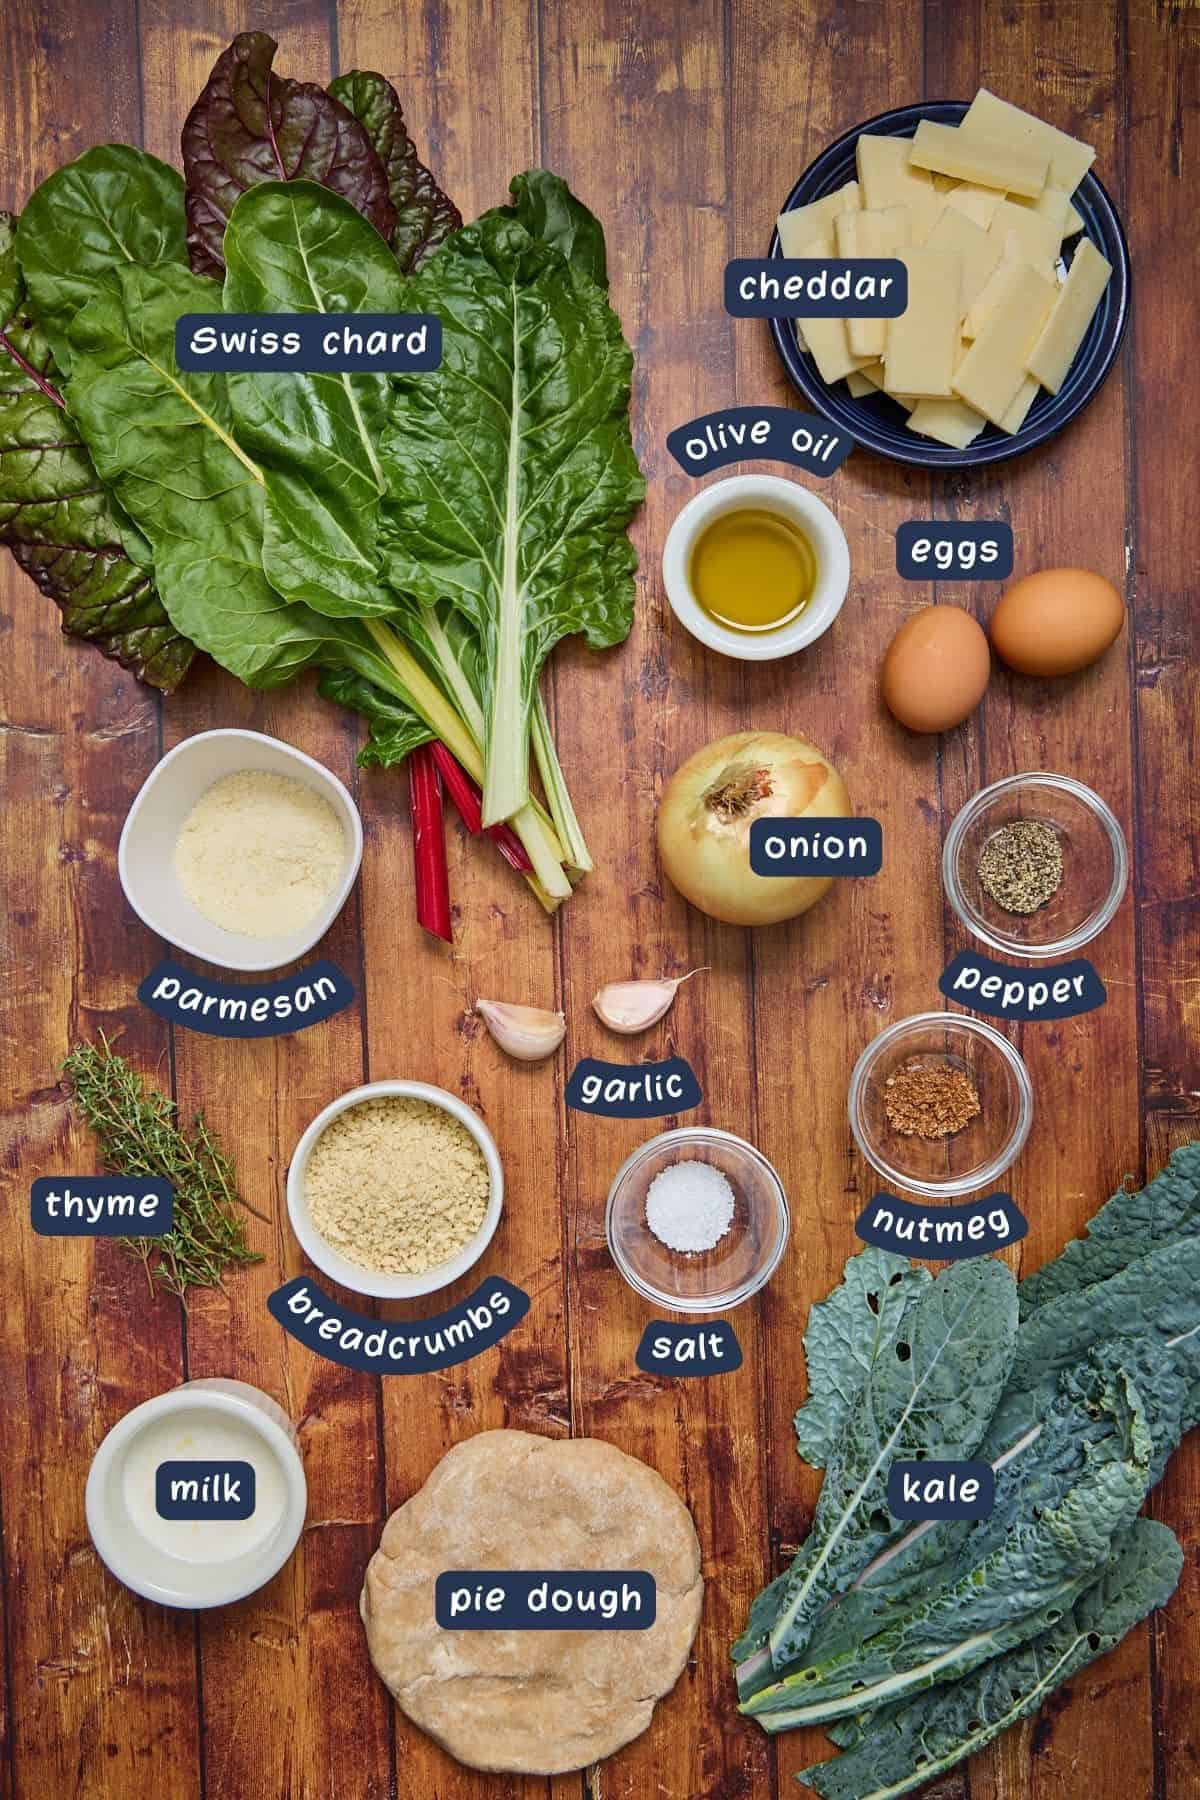
[feast_advanced_jump_to]🥔 Ingredients
Here's everything you need to make this creamy asparagus soup recipe.

Ingredient Notes
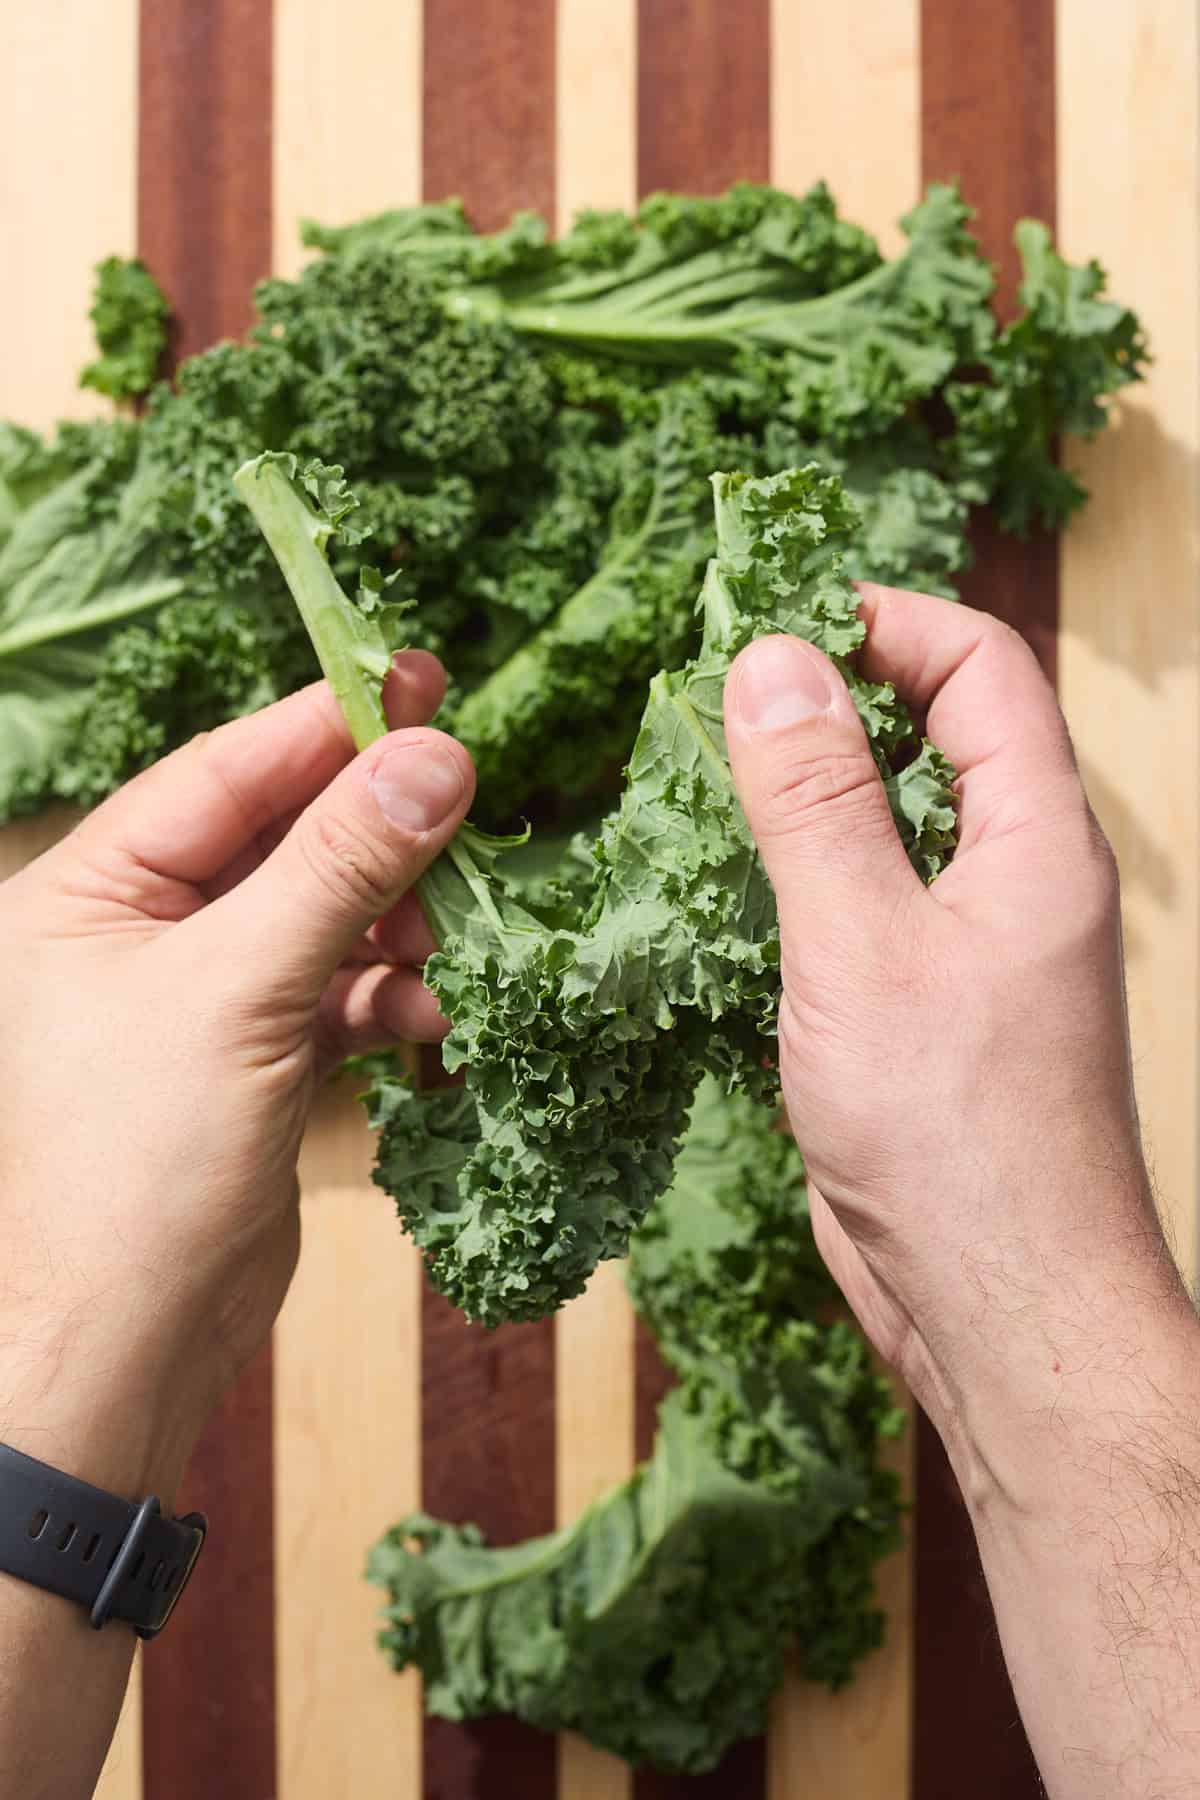
- Asparagus: Ideally, you'll want to use bright and vibrant stalks of asparagus, which are fresher and more flavorful. However, because this is a pureed soup, you can get away with using asparagus that may be a bit tougher, have thicker stalks, or may not be at their peak. (Who hasn't forgotten a vegetable in their fridge longer than they should have?) Either way, you'll want to break off the woody ends as described in the instructions below.
- Potatoes: For a creamy pureed soup like this, I think almost any potato you have handy will work fine. Personally, I like to use smaller potatoes with thin skins because I don't have to spend extra time peeling them. I cook and puree the potatoes, skin and all, which means one less step. If using a larger potato, like a russet, you will want to peel the skin.
- Bacon: You'll chop up a few slices of bacon to saute and crisp up. These bacon bits are set aside as a garnish, while the flavorful fat is left in the pan to sauté the vegetables. It's a two-for-one kind of ingredient here. But if you're vegetarian or vegan, you can certainly skip it and use your preferred cooking oil instead.
- Chives: Add fresh, mild onion flavor to finish off the soup. I like that they're more subtle than scallions and offer hints of garlic flavor. But if you only have scallions, use those.
- Lemon: A whole lemon provides zest and juice for extra brightness and freshness while complementing the flavor of the asparagus.
Check out the recipe card below for the complete list of ingredients and quantities.
🥦 Substitutions & Variations
- Other green veg: Instead of asparagus, this soup would be just as tasty with an equal amount of broccoli or peas.
- Vegetarian: Skip the bacon and use your choice of cooking oil instead.
- Richer flavor: Stir in ½ cup heavy cream before adding the lemon zest and juice.
- Chunkier: Don't fully puree the soup, or don't puree it at all.
- With leeks: Replace the onion with the white and light green portion of a leek. Wash well and chop as you would the onion.
🔪 Instructions

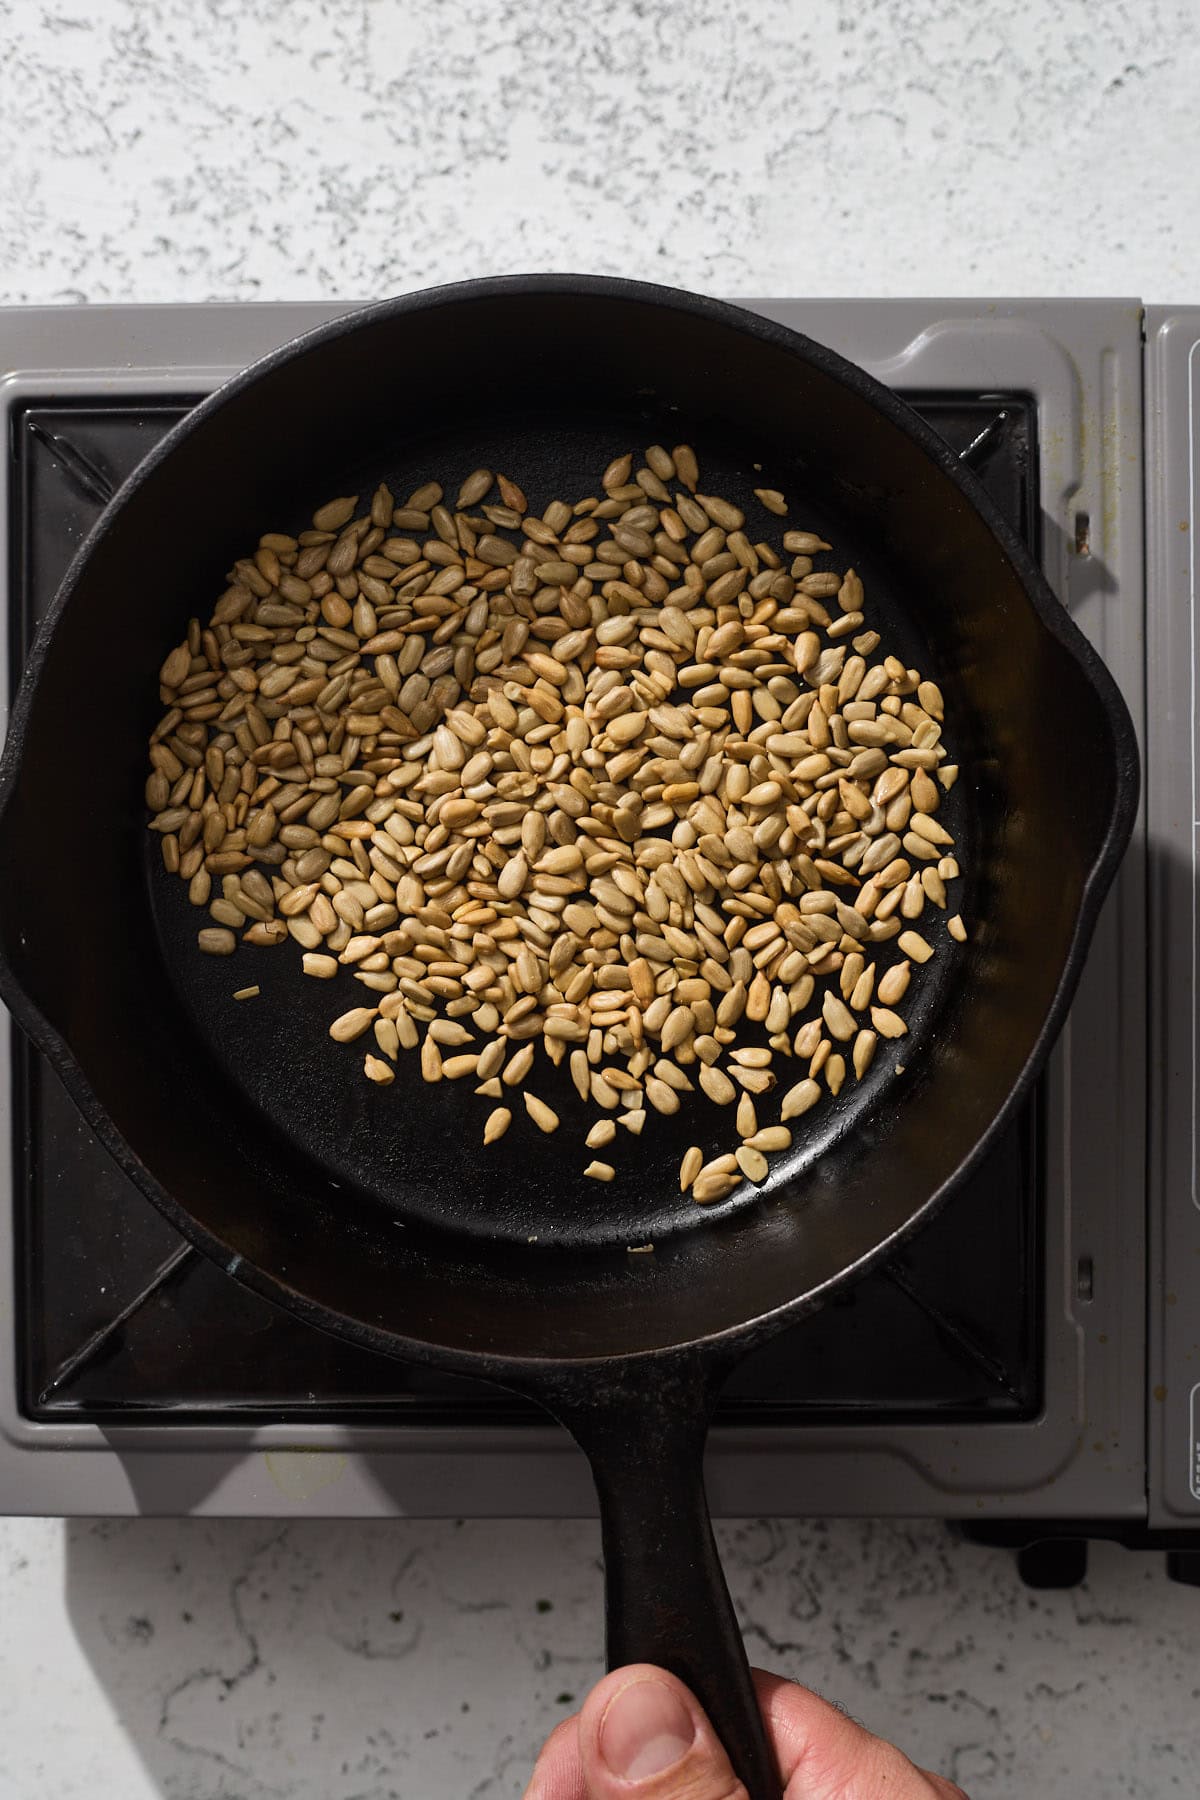
- Step 1: Chop four slices of bacon.

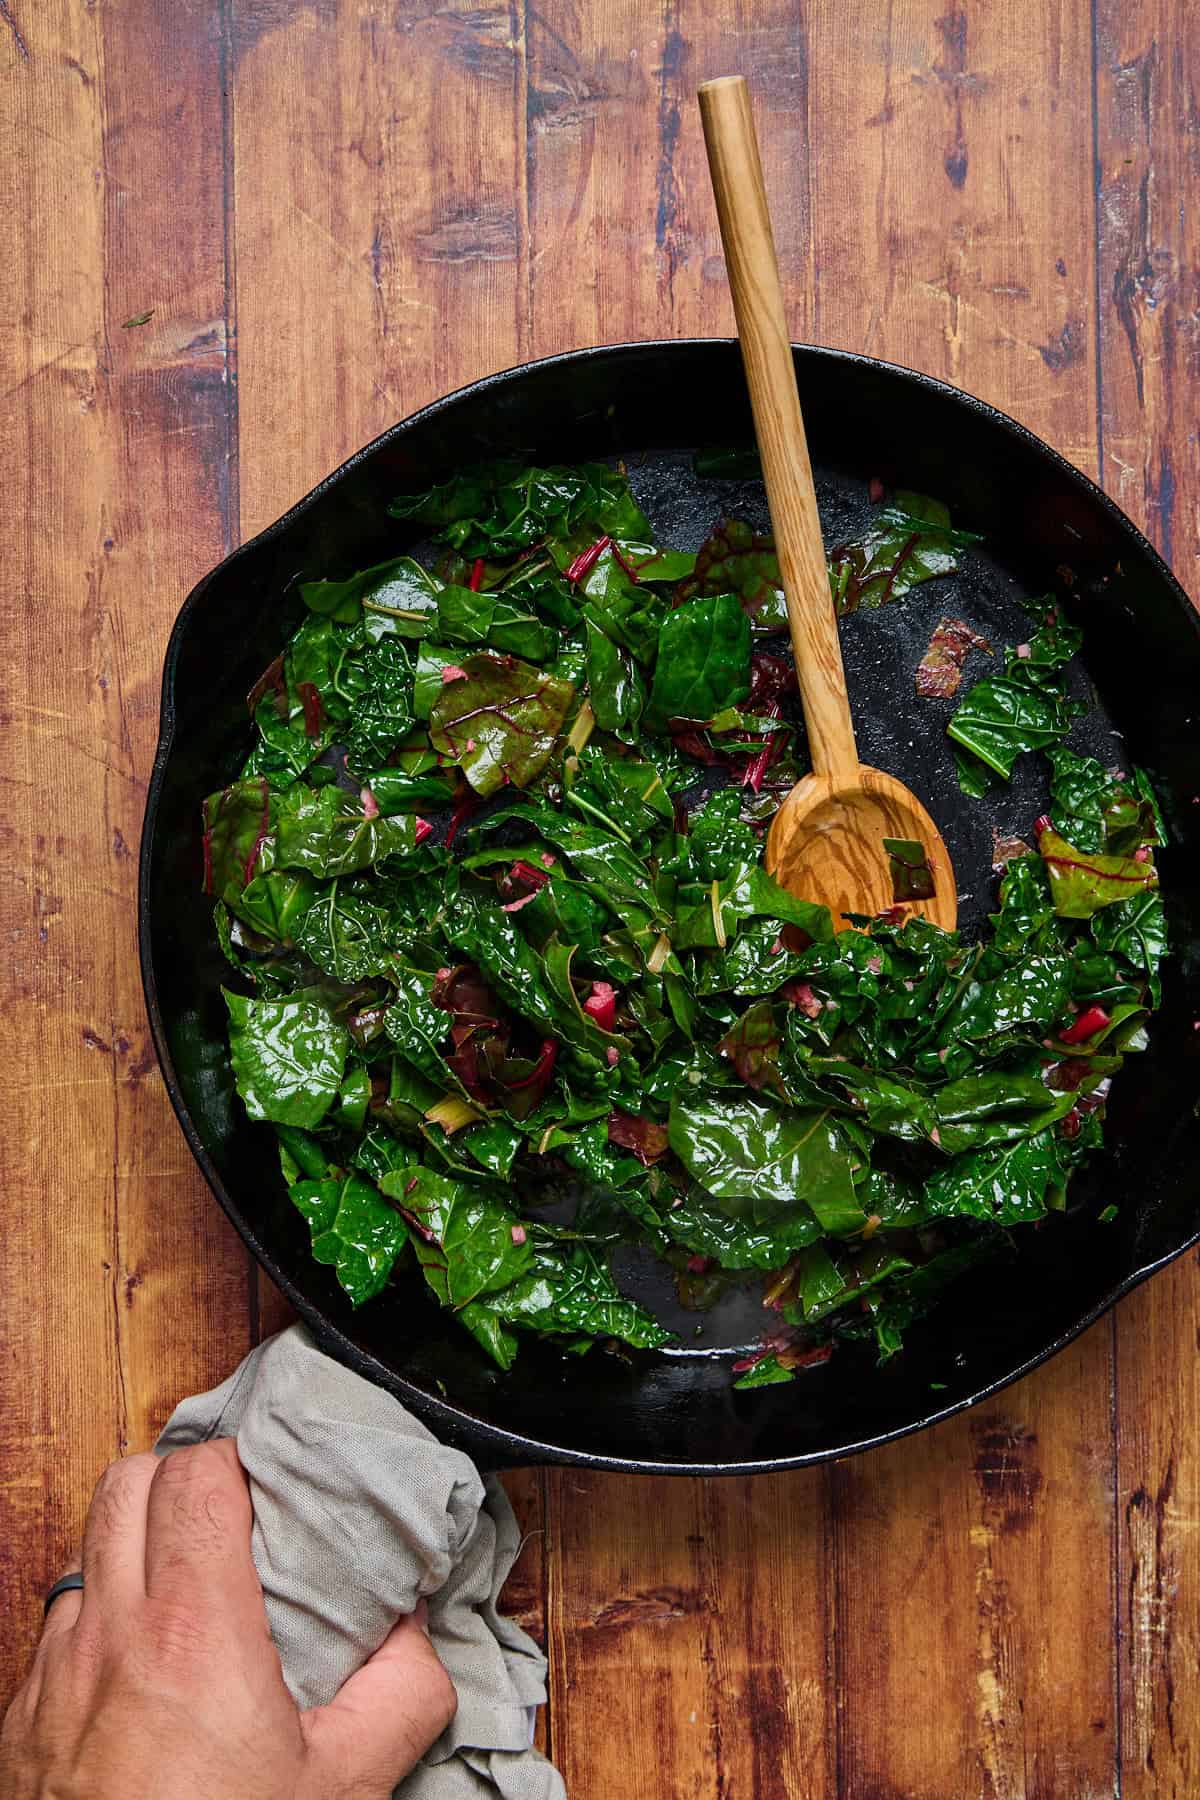
- Step 2: Cook over medium-low heat until crisp, about 5-7 minutes. Remove the crisped bacon from the pan and set aside on a paper towel to drain. Leave the bacon fat in the pan for the vegetables.

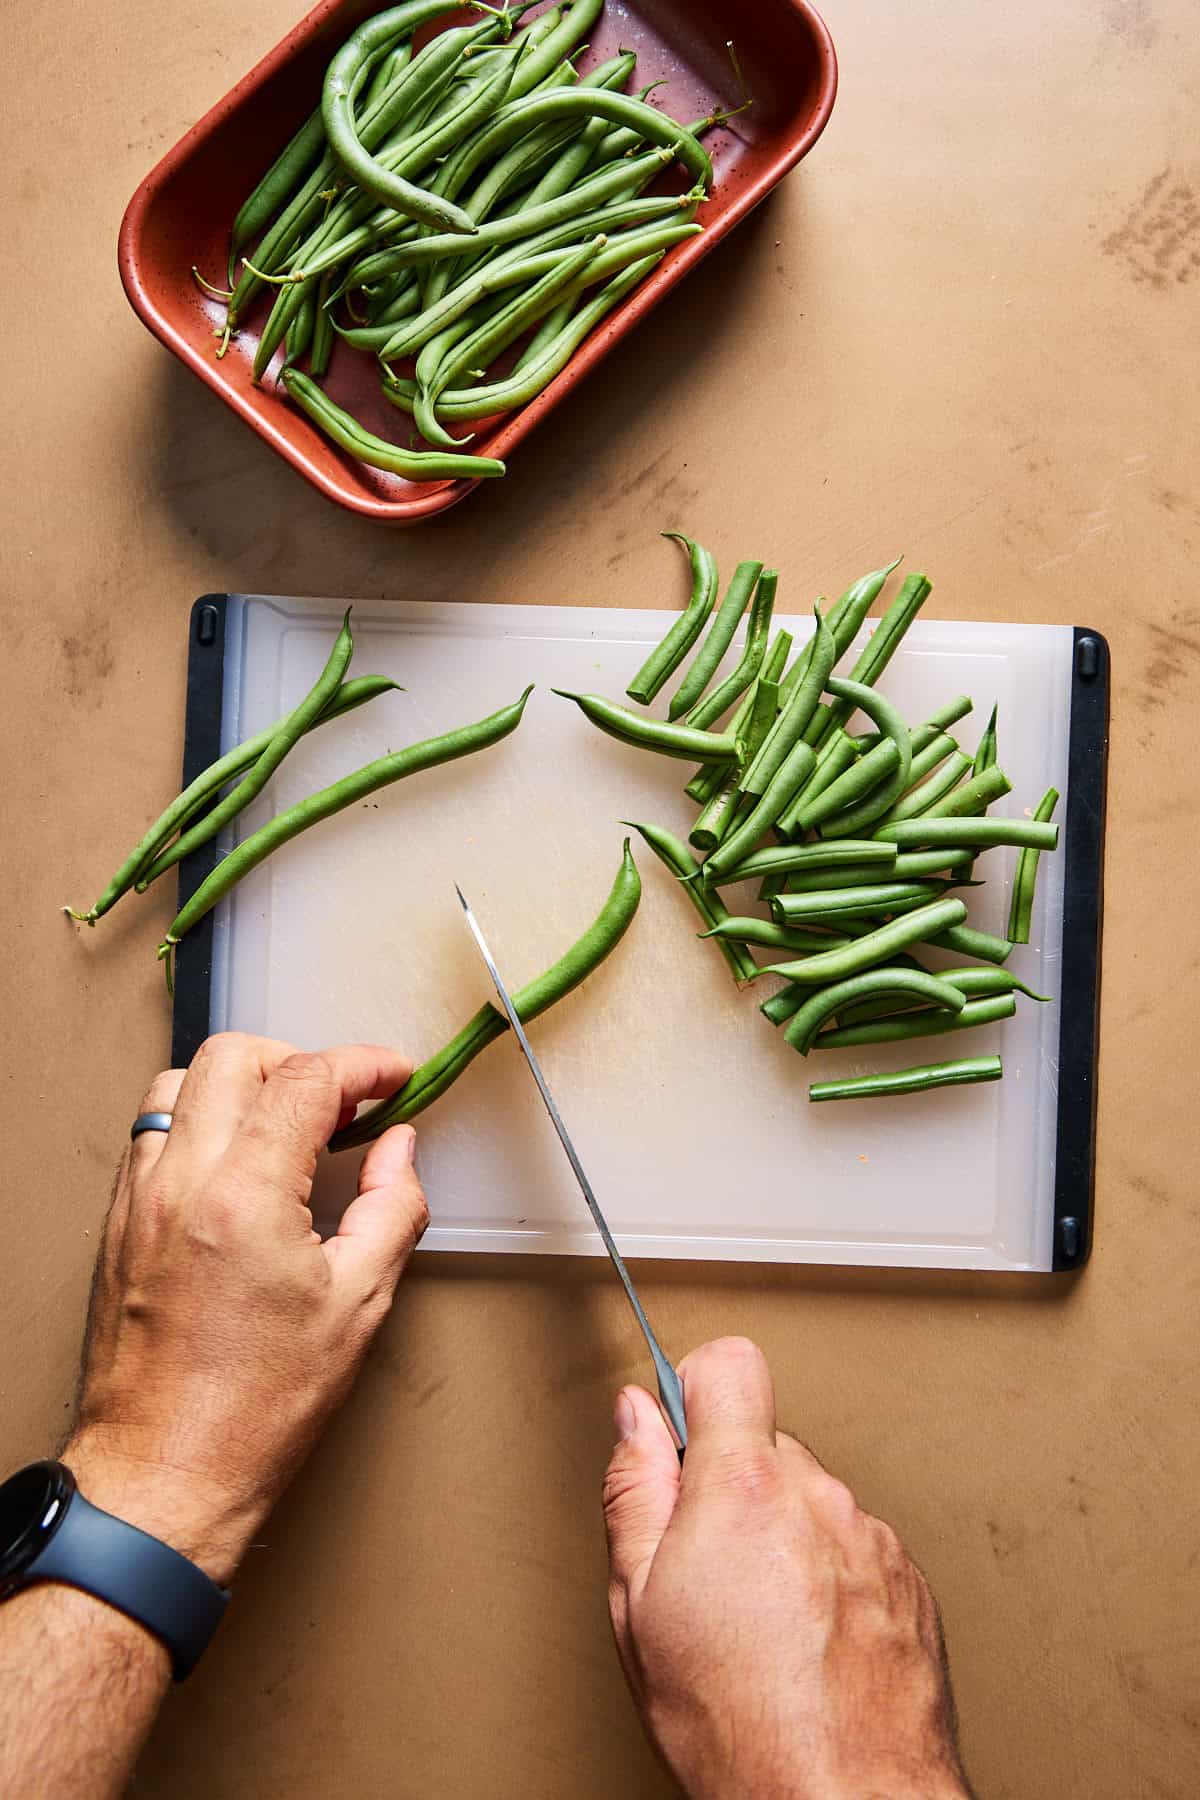
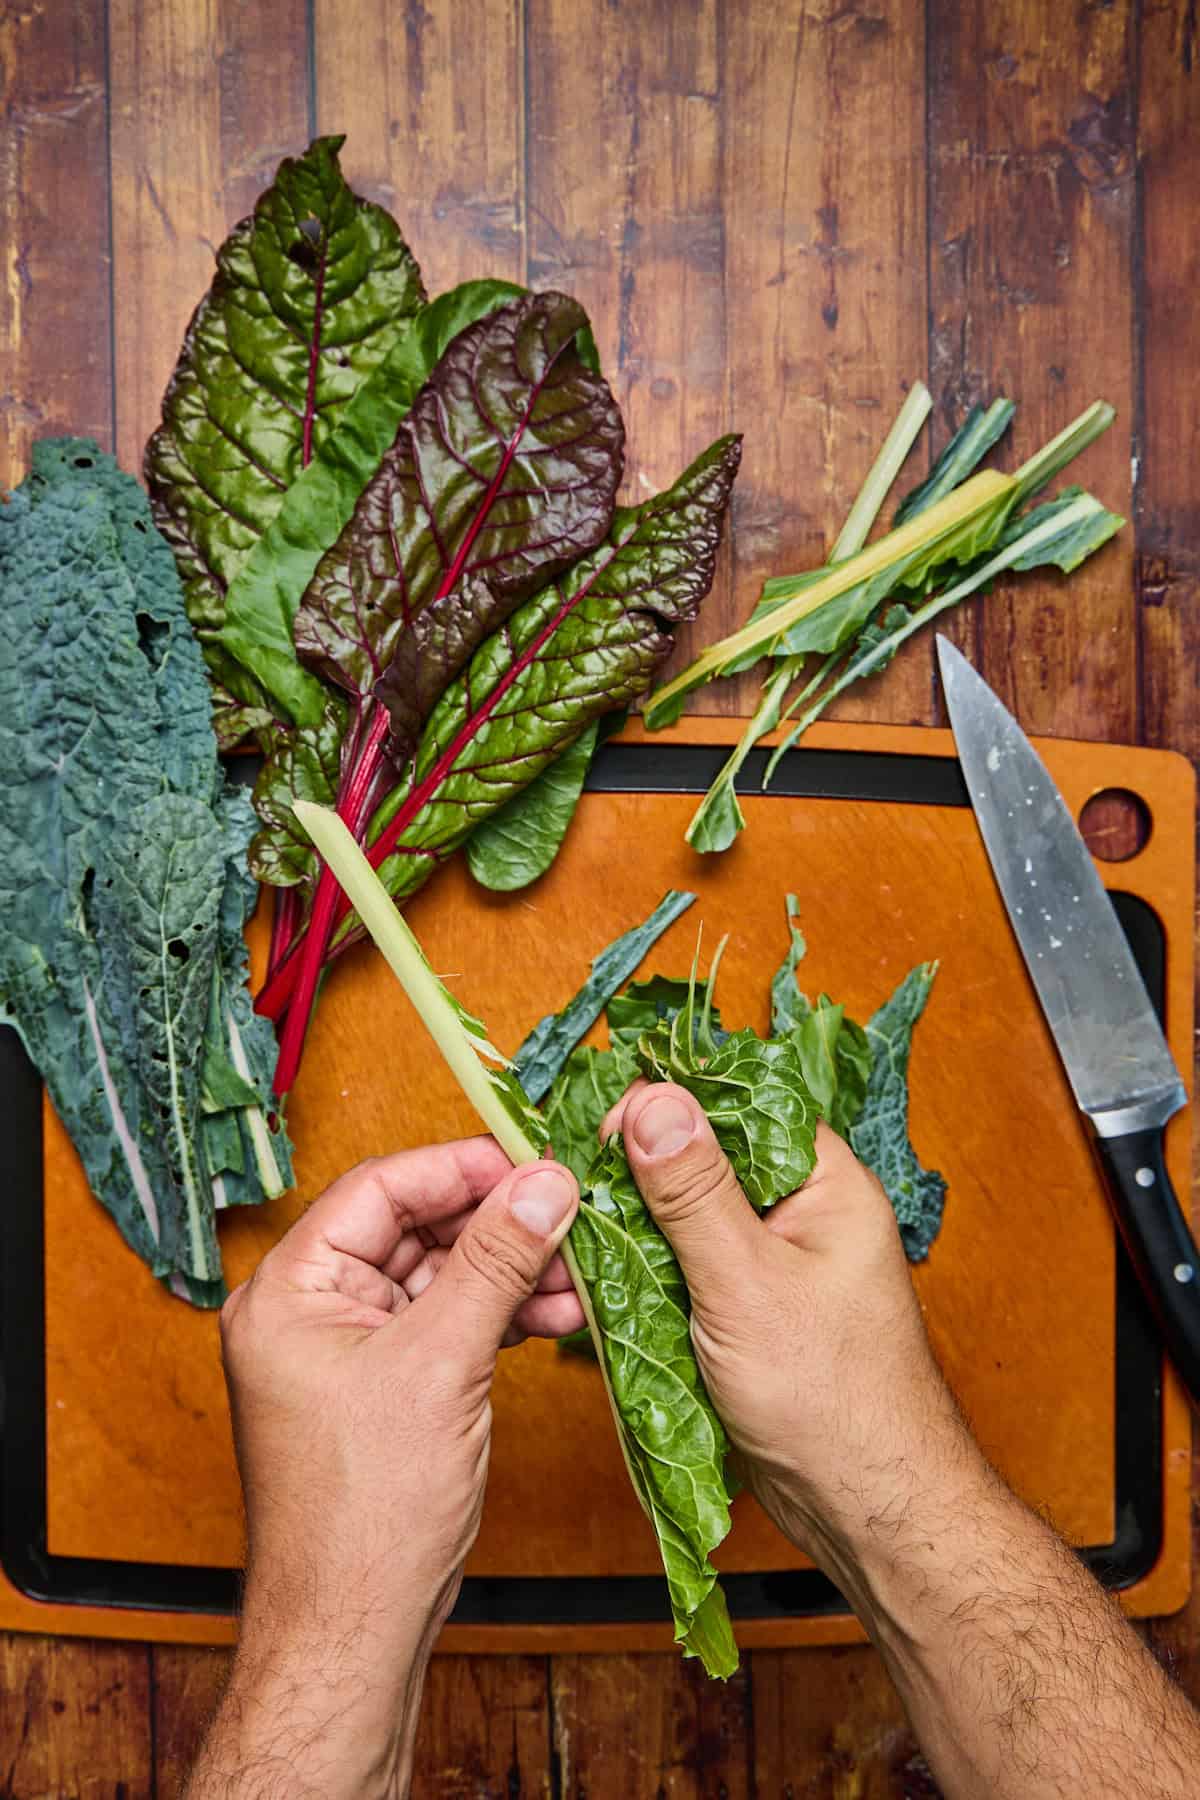
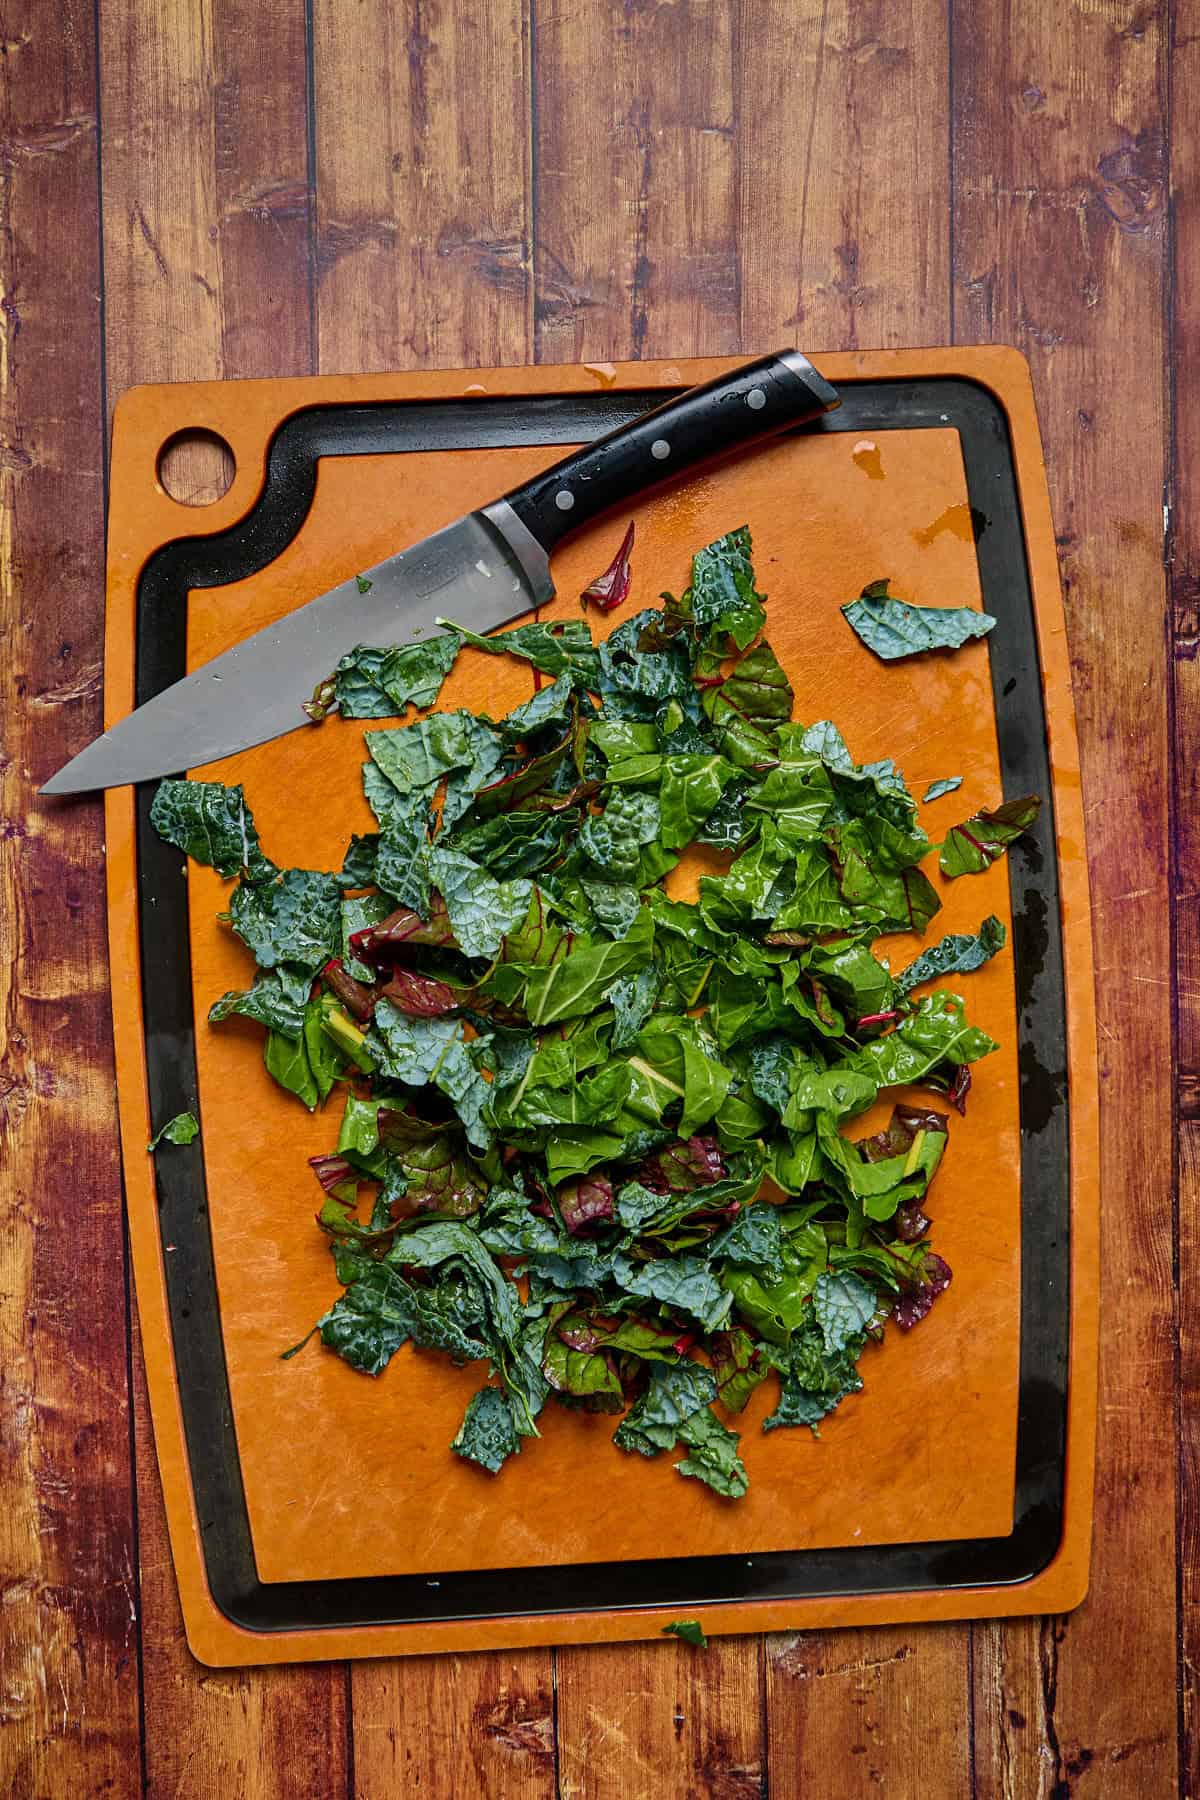
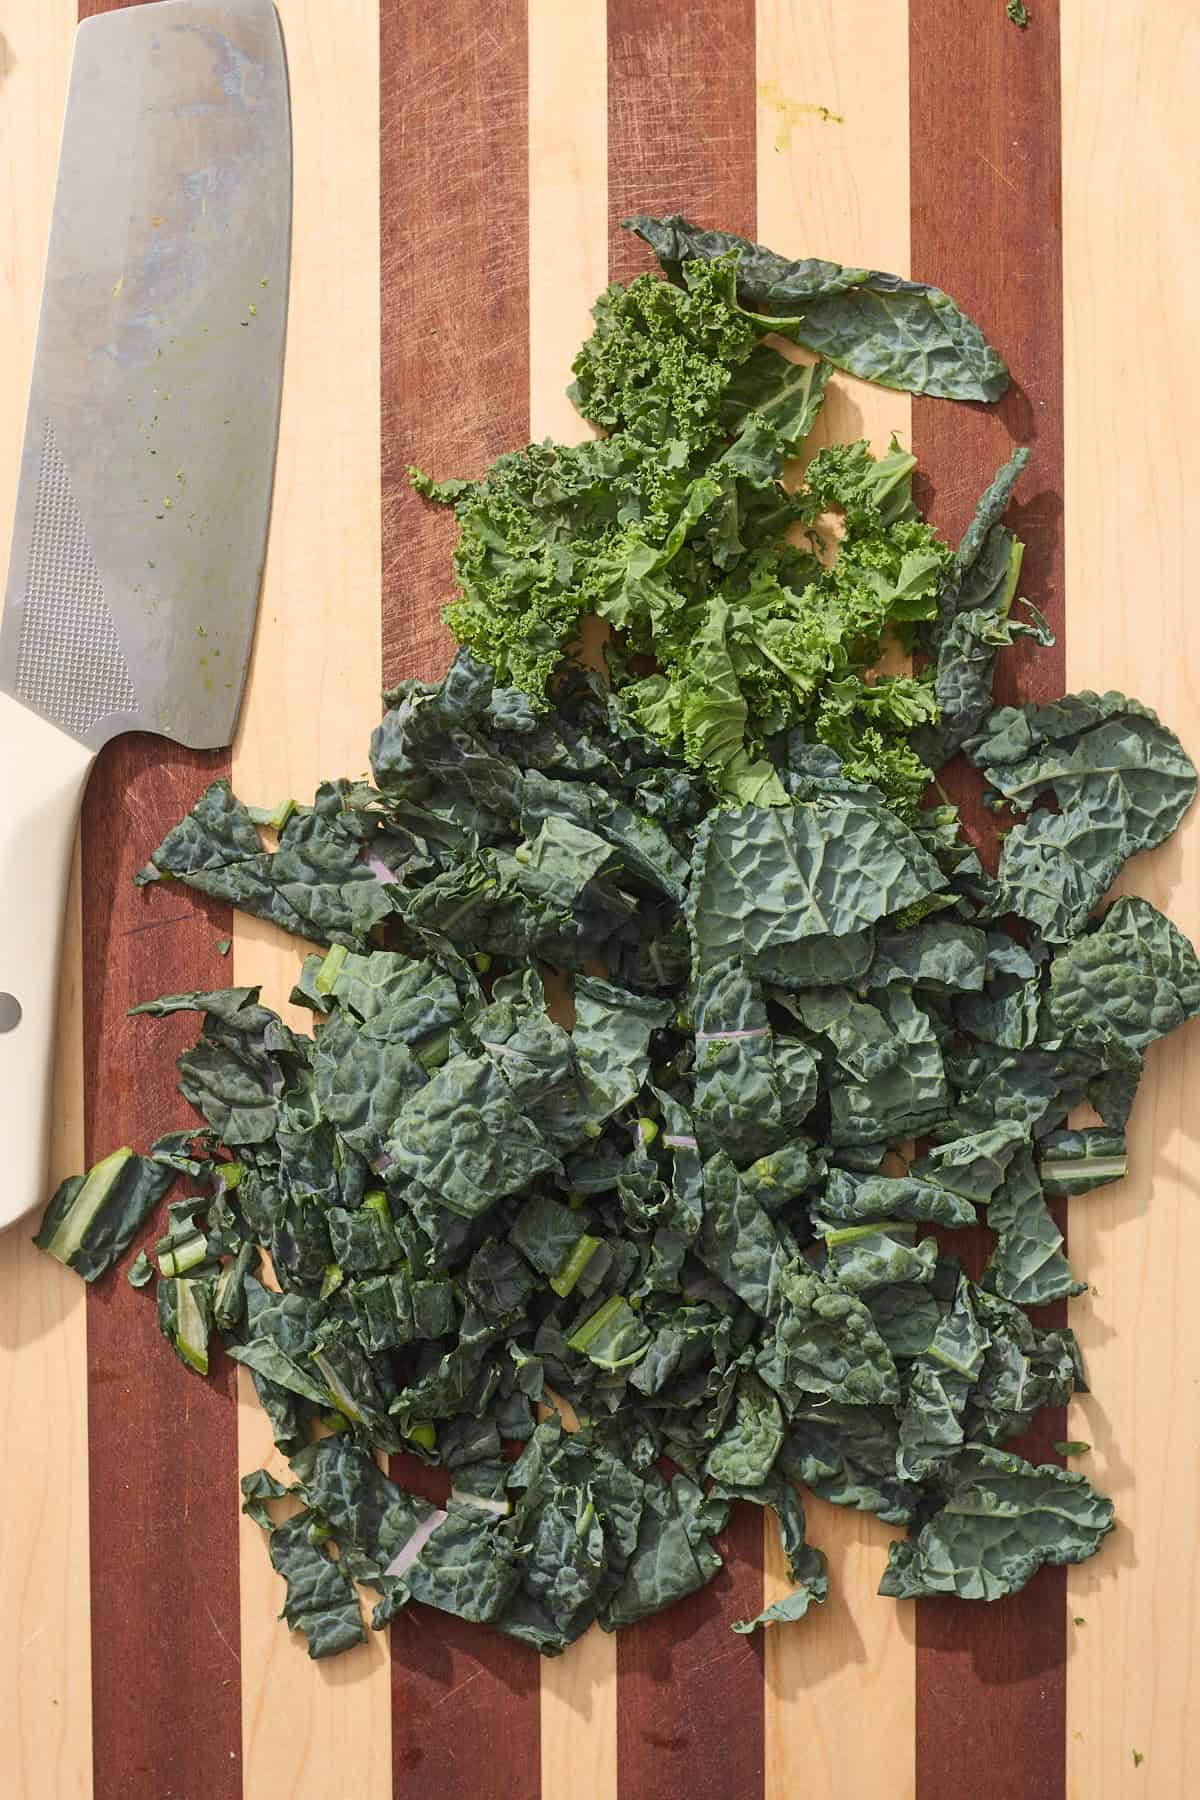
- Step 3: Roughly chop the onion, potatoes, and chives. Mince the garlic.

- Step 4: Cook the onion over low heat until golden and soft, about 8 minutes. Add the garlic, thyme, salt, and pepper, and cook another couple of minutes, stirring to combine.

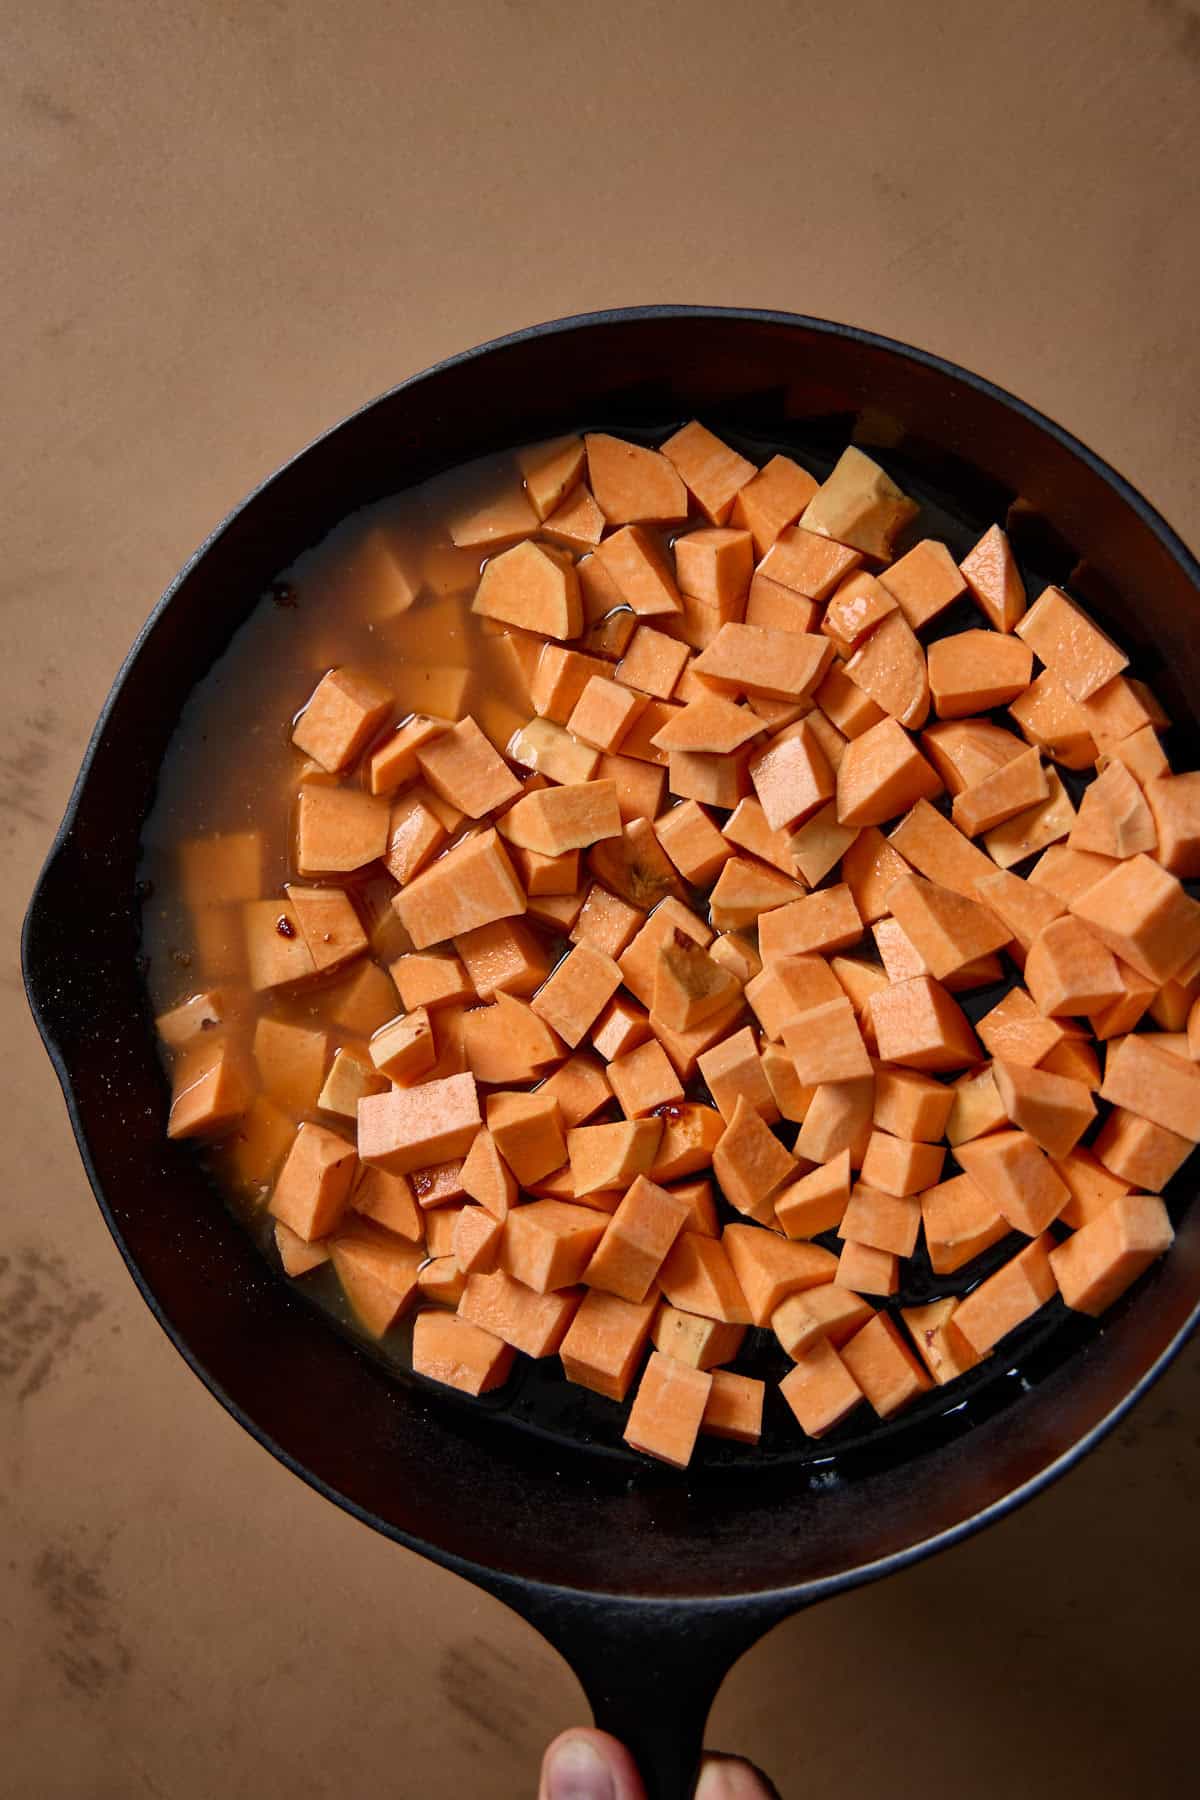
- Step 5: Add the potatoes.

- Step 6: Then add the broth. Turn up the heat, bring to a boil, and simmer for 10 minutes until the potatoes are nearly tender.

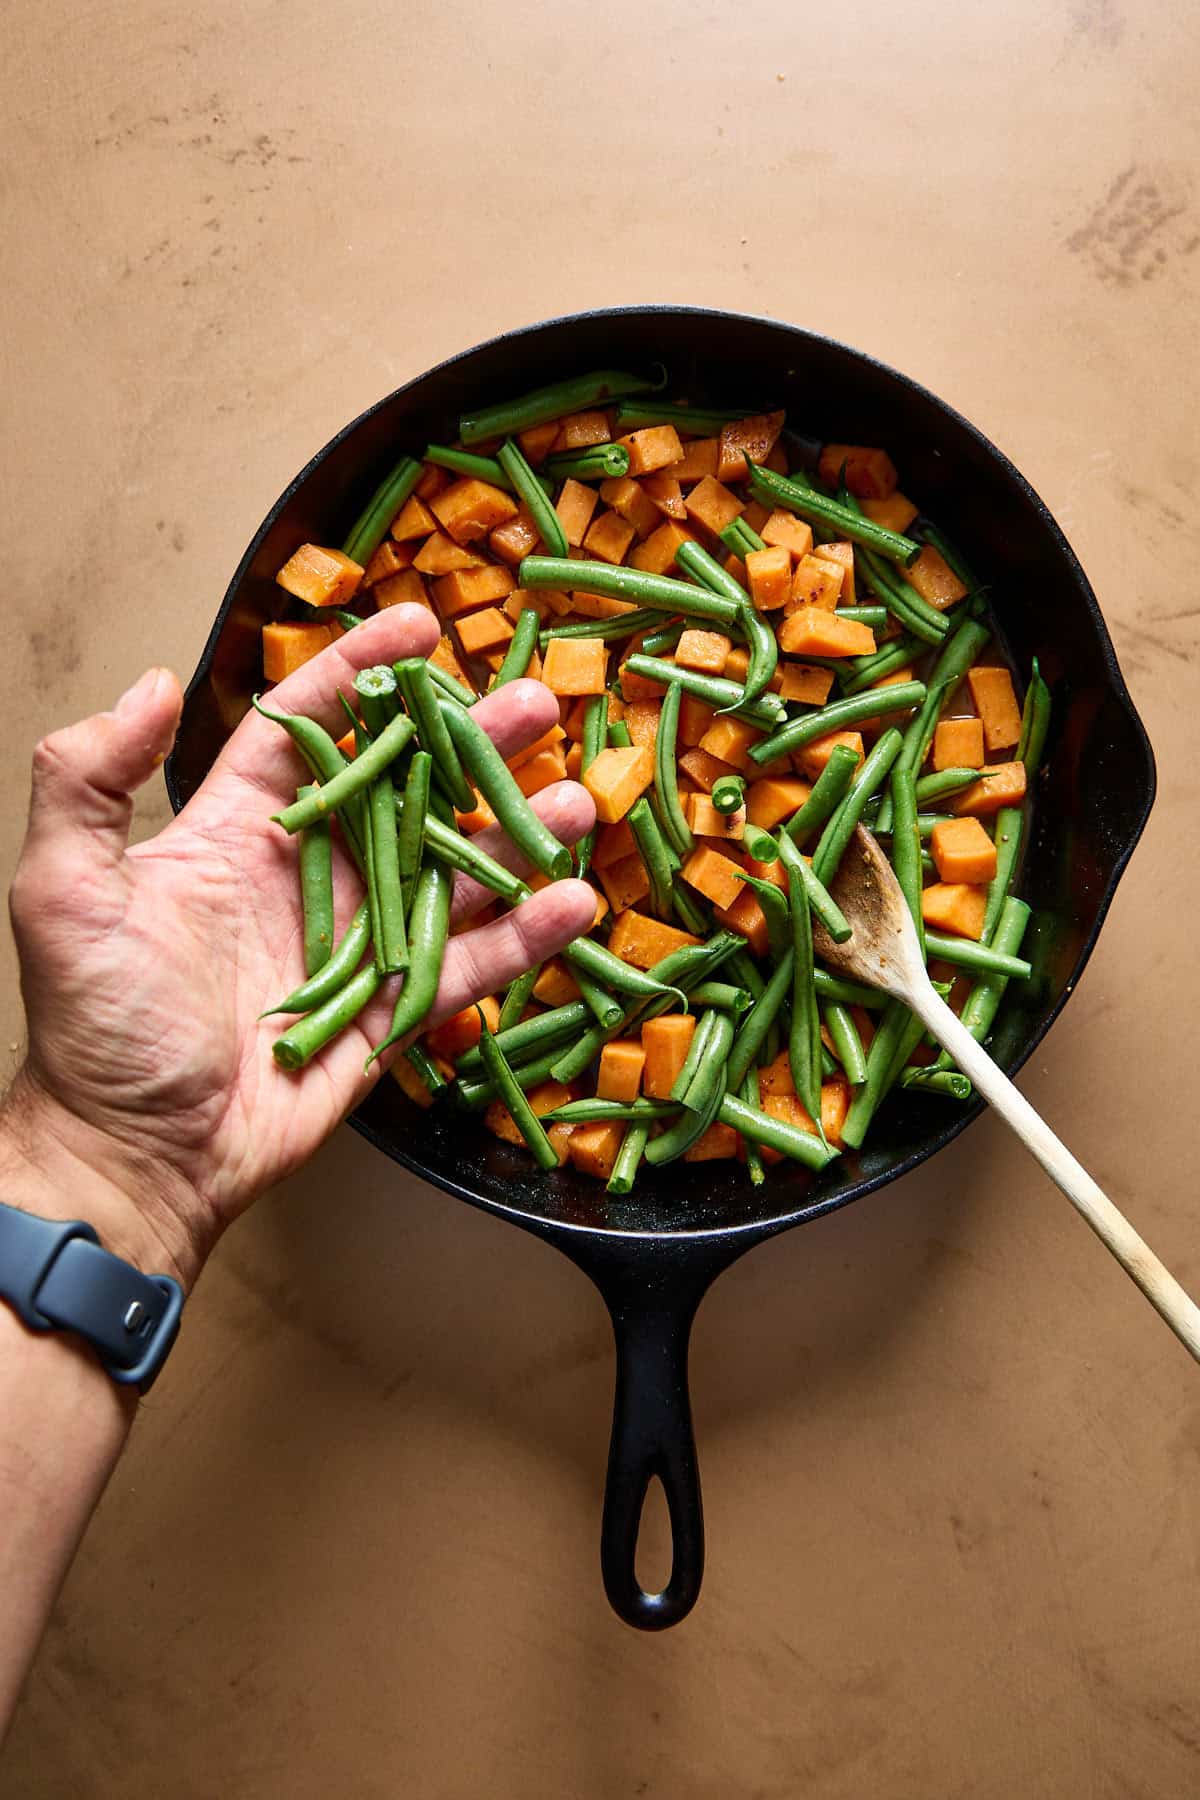
- Step 7: Meanwhile, snap off the woody ends of the asparagus, then cut them into thirds.

- Step 8: Add the asparagus to the pot after the potatoes have cooked for 10 minutes. Simmer for another 5 minutes or until the asparagus is tender.

- Step 9: Remove the soup from the heat and use an immersion blender to puree the soup until smooth.

- Step 10: Finish the soup with fresh lemon juice and zest. Serve topped with the bacon crumbles, chopped chives, and a swirl of yogurt.
✨ Top Tip
Add the asparagus towards the end of cooking the soup for the best flavor and color. Asparagus is a tender vegetable, especially when using thin stalks, so it doesn't take long to cook.
🍳 Equipment
Immersion blender: An immersion blender lets you puree the soup right in the pot, so you don't have to wash a whole blender. I like these Braun hand blenders and have had mine for several years. If you're new to immersion blenders, a helpful tip is to only start the blender after immersing it in the soup. Trust me on that one!
🥡Storage
Store leftover soup in an airtight container in the fridge for up to 4 days. You may also freeze the soup for up to 3 months and defrost it in the fridge the night before.
🙋🏻♂️ FAQ
It depends on the type of potato and the thickness of its skin. Potatoes with thick skins and a lot of dirt on them that isn't easy to wash off are probably better peeled before using in soup. New or early potatoes with thin skins that are easy to wash clean are fine to use without peeling.
Absolutely. When pureeing the soup, the potatoes create a creamy, silky texture and add bulk and substance without the need for cream. Though you could certainly still add cream for richness if you wanted.
Asparagus makes a great addition to vegetable soups and pureed soups like this one. You just don't want to overcook asparagus, which can make it mushy and dull its color. So you want to add it towards the end of the cooking process for the best result.
🥪 Pairing
Any of these recipes would make a nice pairing to this soup:


🍲 Related Recipes
Looking for more recipes like this one? Try these next: